TrueNASのプラグインでZabbixをインストールをしようとしたけど、なんだかエラーが出てインストールできない…。
検索するとどうやら不具合らしくすぐに直る見込みもないとのこと。
仕方ないので以下のページを参考にしてZabbixを作ってみた。
https://www.truenas.com/community/threads/error-while-installing-zabbix-plugin.100202/#post-701917
環境は以下の通り。
- TrueNAS v13.0-U3.1
- Zabbix v6.2
- MySQL 8.0
- PHP 8.1
- Nginx 1.22
Jailの設定
- TrueNASから「Jails」を選択し「ADD」をクリック。
- 「Name」に適当な名前を入力して「Jail Type」はそのままデフォルトで、「Release」はひとまず「13.1-RELEASE」にしておきます。で、「NEXT」をクリック。
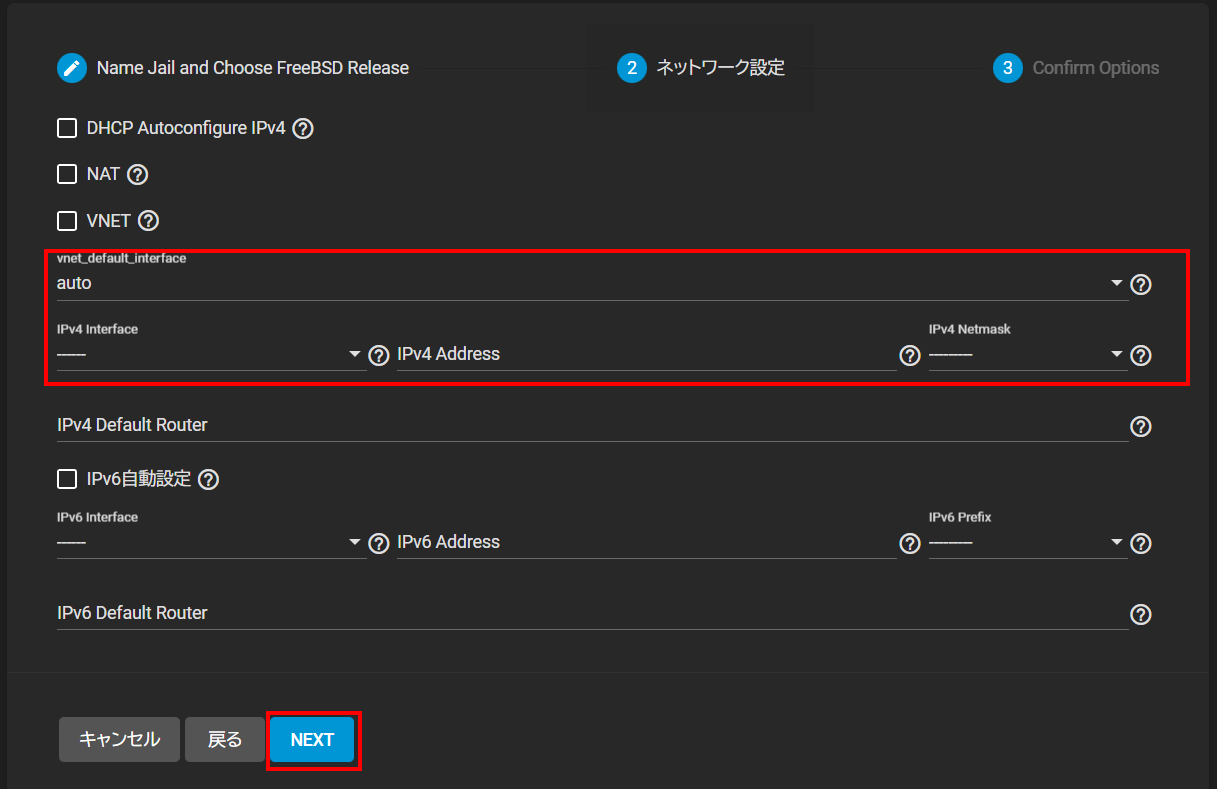
- IPアドレスなどを入力して「NEXT」をクリック。
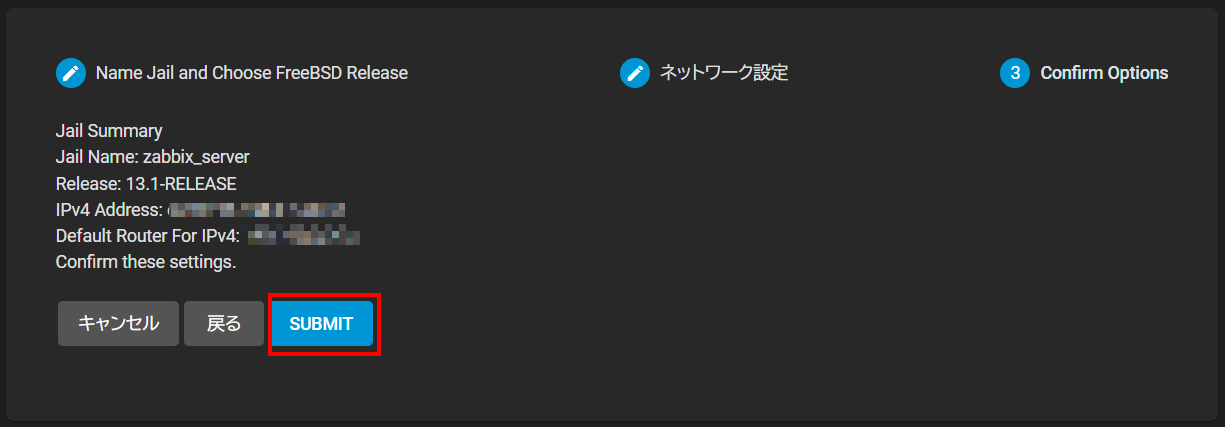
※「VNET」にチェック入れないとエラーになったので、今回はチェックオンにして、「IPv4 Interface」を「vnet0」を選択。 - 内容確認して「SUBMIT」をクリック。
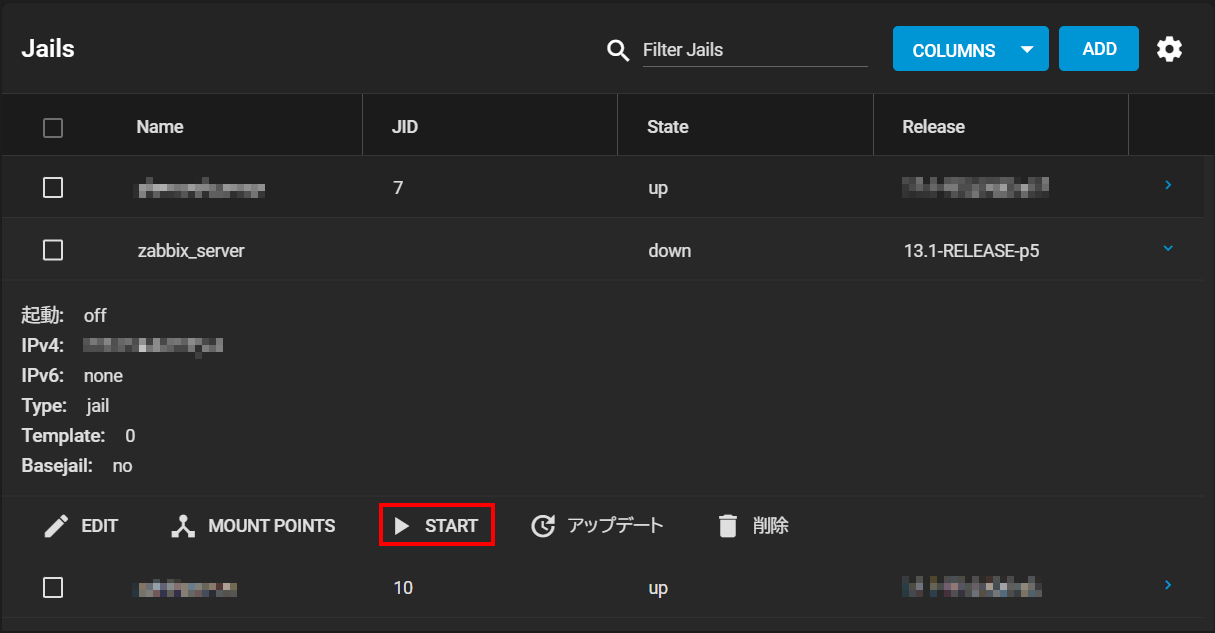
- 作ったJailを展開して「START」をクリック。
- 「State」が「up」になっていることを確認。
- 操作のために「シェル」をクリック。
- シェルの起動を確認。


準備作業
- パッケージのバージョンアップ
# pkg update && pkg upgrade
The package management tool is not yet installed on your system.
Do you want to fetch and install it now? [y/N]: y
: - 各パッケージのインストール
# pkg install zabbix62-server-6.2.6 zabbix62-agent-6.2.6 zabbix62-frontend-php81-6.2.6
:
Proceed with this action? [y/N]: y
# pkg install mysql80-server-8.0.31
:
Proceed with this action? [y/N]: y
# pkg install nginx-1.22.1_2,3
:
Proceed with this action? [y/N]: y
MySQLの設定
- MySQLの起動設定
# sysrc mysql_enable=YES - MySQLの起動
# service mysql-server start - MySQLの初期設定
# mysql_secure_installation
mysql_secure_installation: [ERROR] unknown variable 'prompt=\u@\h [\d]>\_'.
Securing the MySQL server deployment.
Connecting to MySQL using a blank password.
VALIDATE PASSWORD COMPONENT can be used to test passwords
and improve security. It checks the strength of password
and allows the users to set only those passwords which are
secure enough. Would you like to setup VALIDATE PASSWORD component?
Press y|Y for Yes, any other key for No: y ※ VALIDATE PASSWORD プラグイン の利用確認
There are three levels of password validation policy:
LOW Length >= 8
MEDIUM Length >= 8, numeric, mixed case, and special characters
STRONG Length >= 8, numeric, mixed case, special characters and dictionary file
Please enter 0 = LOW, 1 = MEDIUM and 2 = STRONG: 2 ※パスワードのセキュリティレベル
Please set the password for root here.
New password: XXXXX ※rootのパスワード設定
Re-enter new password: XXXXX ※同じパスワードを再度入力
Estimated strength of the password: 50
Do you wish to continue with the password provided?(Press y|Y for Yes, any other key for No) : y ※設定したパスワードの強度の確認。問題なければyを入力
By default, a MySQL installation has an anonymous user,
allowing anyone to log into MySQL without having to have
a user account created for them. This is intended only for
testing, and to make the installation go a bit smoother.
You should remove them before moving into a production
environment.
Remove anonymous users? (Press y|Y for Yes, any other key for No) : y ※anonymousユーザーの削除
Success.
Normally, root should only be allowed to connect from
'localhost'. This ensures that someone cannot guess at
the root password from the network.
Disallow root login remotely? (Press y|Y for Yes, any other key for No) : y ※rootのリモート接続を許可しない
Success.
By default, MySQL comes with a database named 'test' that
anyone can access. This is also intended only for testing,
and should be removed before moving into a production
environment.
Remove test database and access to it? (Press y|Y for Yes, any other key for No) : y ※testデータベースの削除
- Dropping test database...
Success.
- Removing privileges on test database...
Success.
Reloading the privilege tables will ensure that all changes
made so far will take effect immediately.
Reload privilege tables now? (Press y|Y for Yes, any other key for No) : y ※リロードして変更を有効にする
Success.
All done! - データベースとユーザーの作成
# mysql -uroot -p
Enter password: XXXXX ※上記で設定したrootのパスワード
> SET GLOBAL log_bin_trust_function_creators = 1;
> CREATE DATABASE zabbix character set utf8mb4 collate utf8mb4_bin;
> CREATE USER 'zabbix'@'localhost' IDENTIFIED WITH mysql_native_password BY 'XXXXX'; ※zabbixユーザーのパスワード
> GRANT all privileges on zabbix.* to 'zabbix'@'localhost';
> FLUSH PRIVILEGES;
> quit; - Zabbixデータベースのインストール
# cd /usr/local/share/zabbix62/server/database/
# mysql -uzabbix -p zabbix < mysql/schema.sql
Enter password: XXXXX ※zabbixユーザーのパスワード
# mysql -uzabbix -p zabbix < mysql/images.sql
Enter password: XXXXX ※zabbixユーザーのパスワード
# mysql -uzabbix -p zabbix < mysql/data.sql
Enter password: XXXXX ※zabbixユーザーのパスワード
Nginx/PHPの設定
- Nginx/PHP FPMの起動設定
# sysrc nginx_enable=YES
# sysrc php_fpm_enable=YES - PHPの設定
# cd /usr/local/etc/
# cp php.ini-production php.ini
# vi php.ini
編集箇所は以下の通り
max_execution_time = 300
max_input_time = 600
post_max_size = 16M - Nginxの設定
# vi /usr/local/etc/nginx/nginx.conf
server項目を以下のように設定
server {
listen 80;
server_name localhost;
location / {
root /usr/local/www/zabbix62;
index index.php index.html;
}
# redirect server error pages to the static page /50x.html
#
error_page 500 502 503 504 /50x.html;
location = /50x.html {
root /usr/local/www/nginx-dist;
}
# pass the PHP scripts to FastCGI server listening on 127.0.0.1:9000
#
location ~ \.php$ {
root /usr/local/www/zabbix62;
fastcgi_pass 127.0.0.1:9000;
fastcgi_index index.php;
fastcgi_param SCRIPT_FILENAME $document_root$fastcgi_script_name;
include fastcgi_params;
}
} - Nginx/PHPの起動
# service nginx start
# service php-fpm start
Zabbixの設定
- Zabbixの起動設定
# sysrc zabbix_server_enable=YES
# sysrc zabbix_agentd_enable=YES - DB設定の設定
# vi /usr/local/etc/zabbix62/zabbix_server.conf
編集箇所は以下の通り
DBHost=localhost
DBName=zabbix
DBUser=zabbix
DBPassword=XXXXX ※上記で設定したzabbixユーザーのパスワード - Zabbixの起動
# service zabbix_server start
# service zabbix_agentd start - ブラウザでZabbixサーバに接続
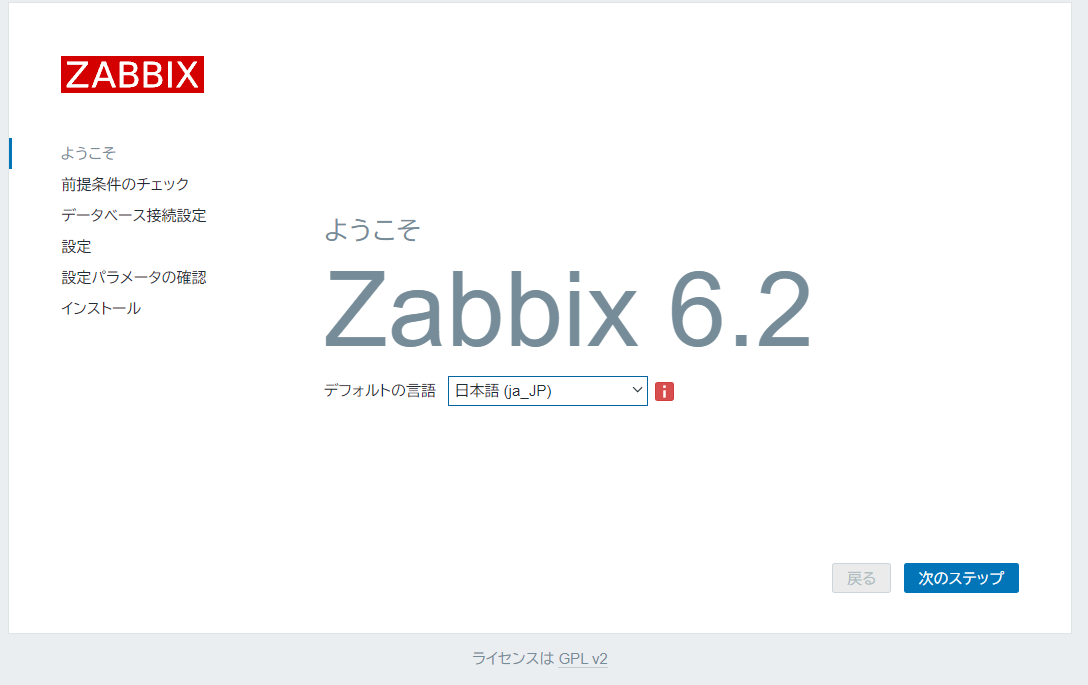
http://NNN.NNN.NNN.NNN/ ※Jailで設定したIPアドレス - 表示言語を日本語に切り替える
- 日本語への切り替えを確認し「次のステップ」をクリック
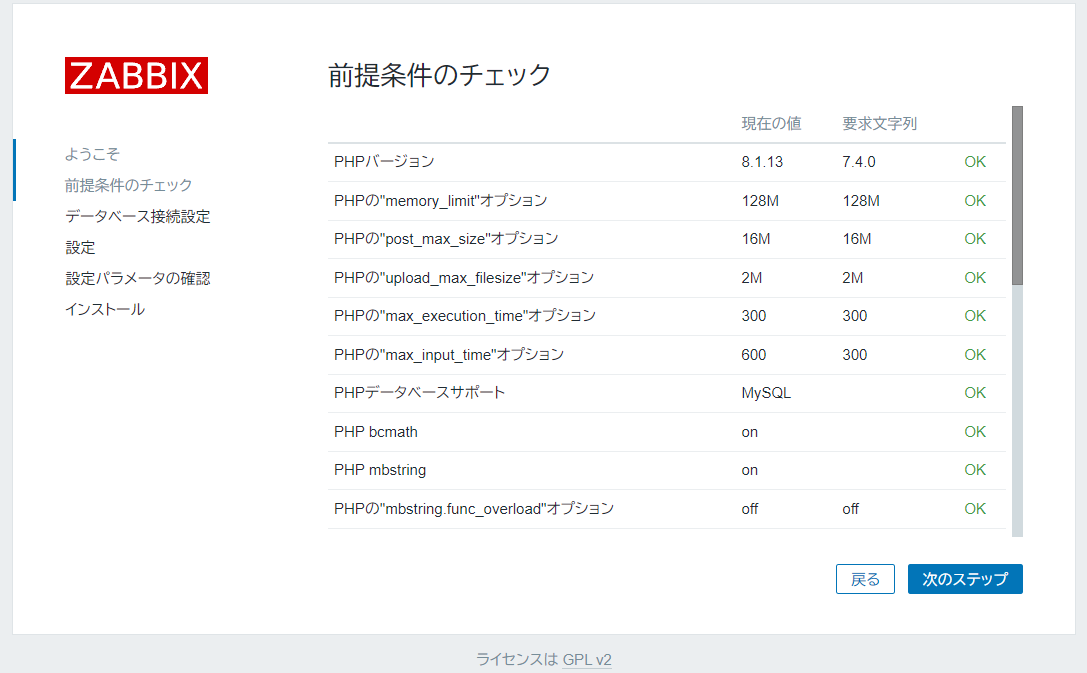
- 前提条件のチェックがすべて「OK」になっていることを確認し「次のステップ」をクリック(OKになっていない項目があれば対応する)
- パスワードにMySQLで設定したzabbixユーザーのパスワードを入力し「次のステップ」をクリック
- 「Zabbixサーバー名」は任意のサーバー名を入力し、「デフォルトのタイムゾーン」は「(UTC+09:00)Asia/Tokyo」を選択し、「次のステップ」をクリック
- 設定値を確認して「次のステップ」をクリック
- 設定ファイルの作成でエラーが出たので手動でインストールする
「設定ファイルのダウンロード」部分をクリック - 画面の指示に従いダウンロードしたファイルをメモ帳などで開いて内容を貼り付ける
# vi /usr/local/www/zabbix62/conf/zabbix.conf.php
※新規ファイルの編集となるので、ダウンロードしたファイルの内容に貼り付けて保存する - 「終了」をクリック
- 再度「終了」をクリック
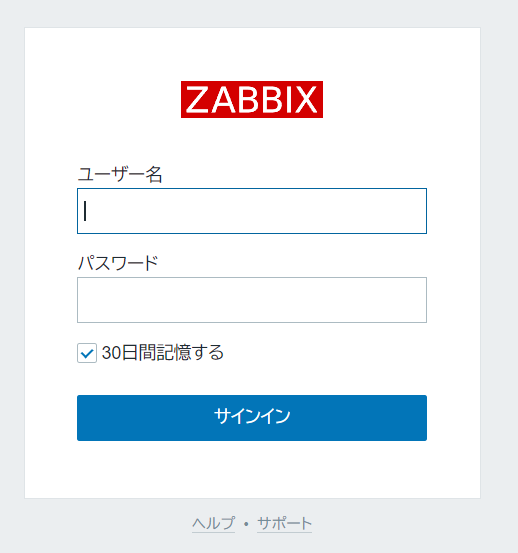
- 以下のユーザー名/パスワード(初期値)でログインする
ユーザー名:Admin
パスワード:zabbix - ログインできることを確認する
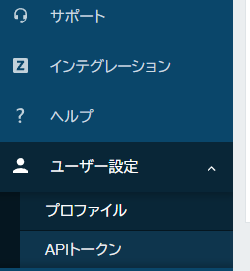
- まずはパスワードを変更する。画面左下の「ユーザー設定」→「プロファイル」をクリック
- 「パスワード変更」をクリック
- パスワードを2回入力して「更新」をクリック